

Adding locations to the Take Pics Here platform is easier than you think. Simply fill out the “Add a Location” form and wait for your location to be approved by our quality check team, then you are all set. For more clarity, let me walk you through the steps.
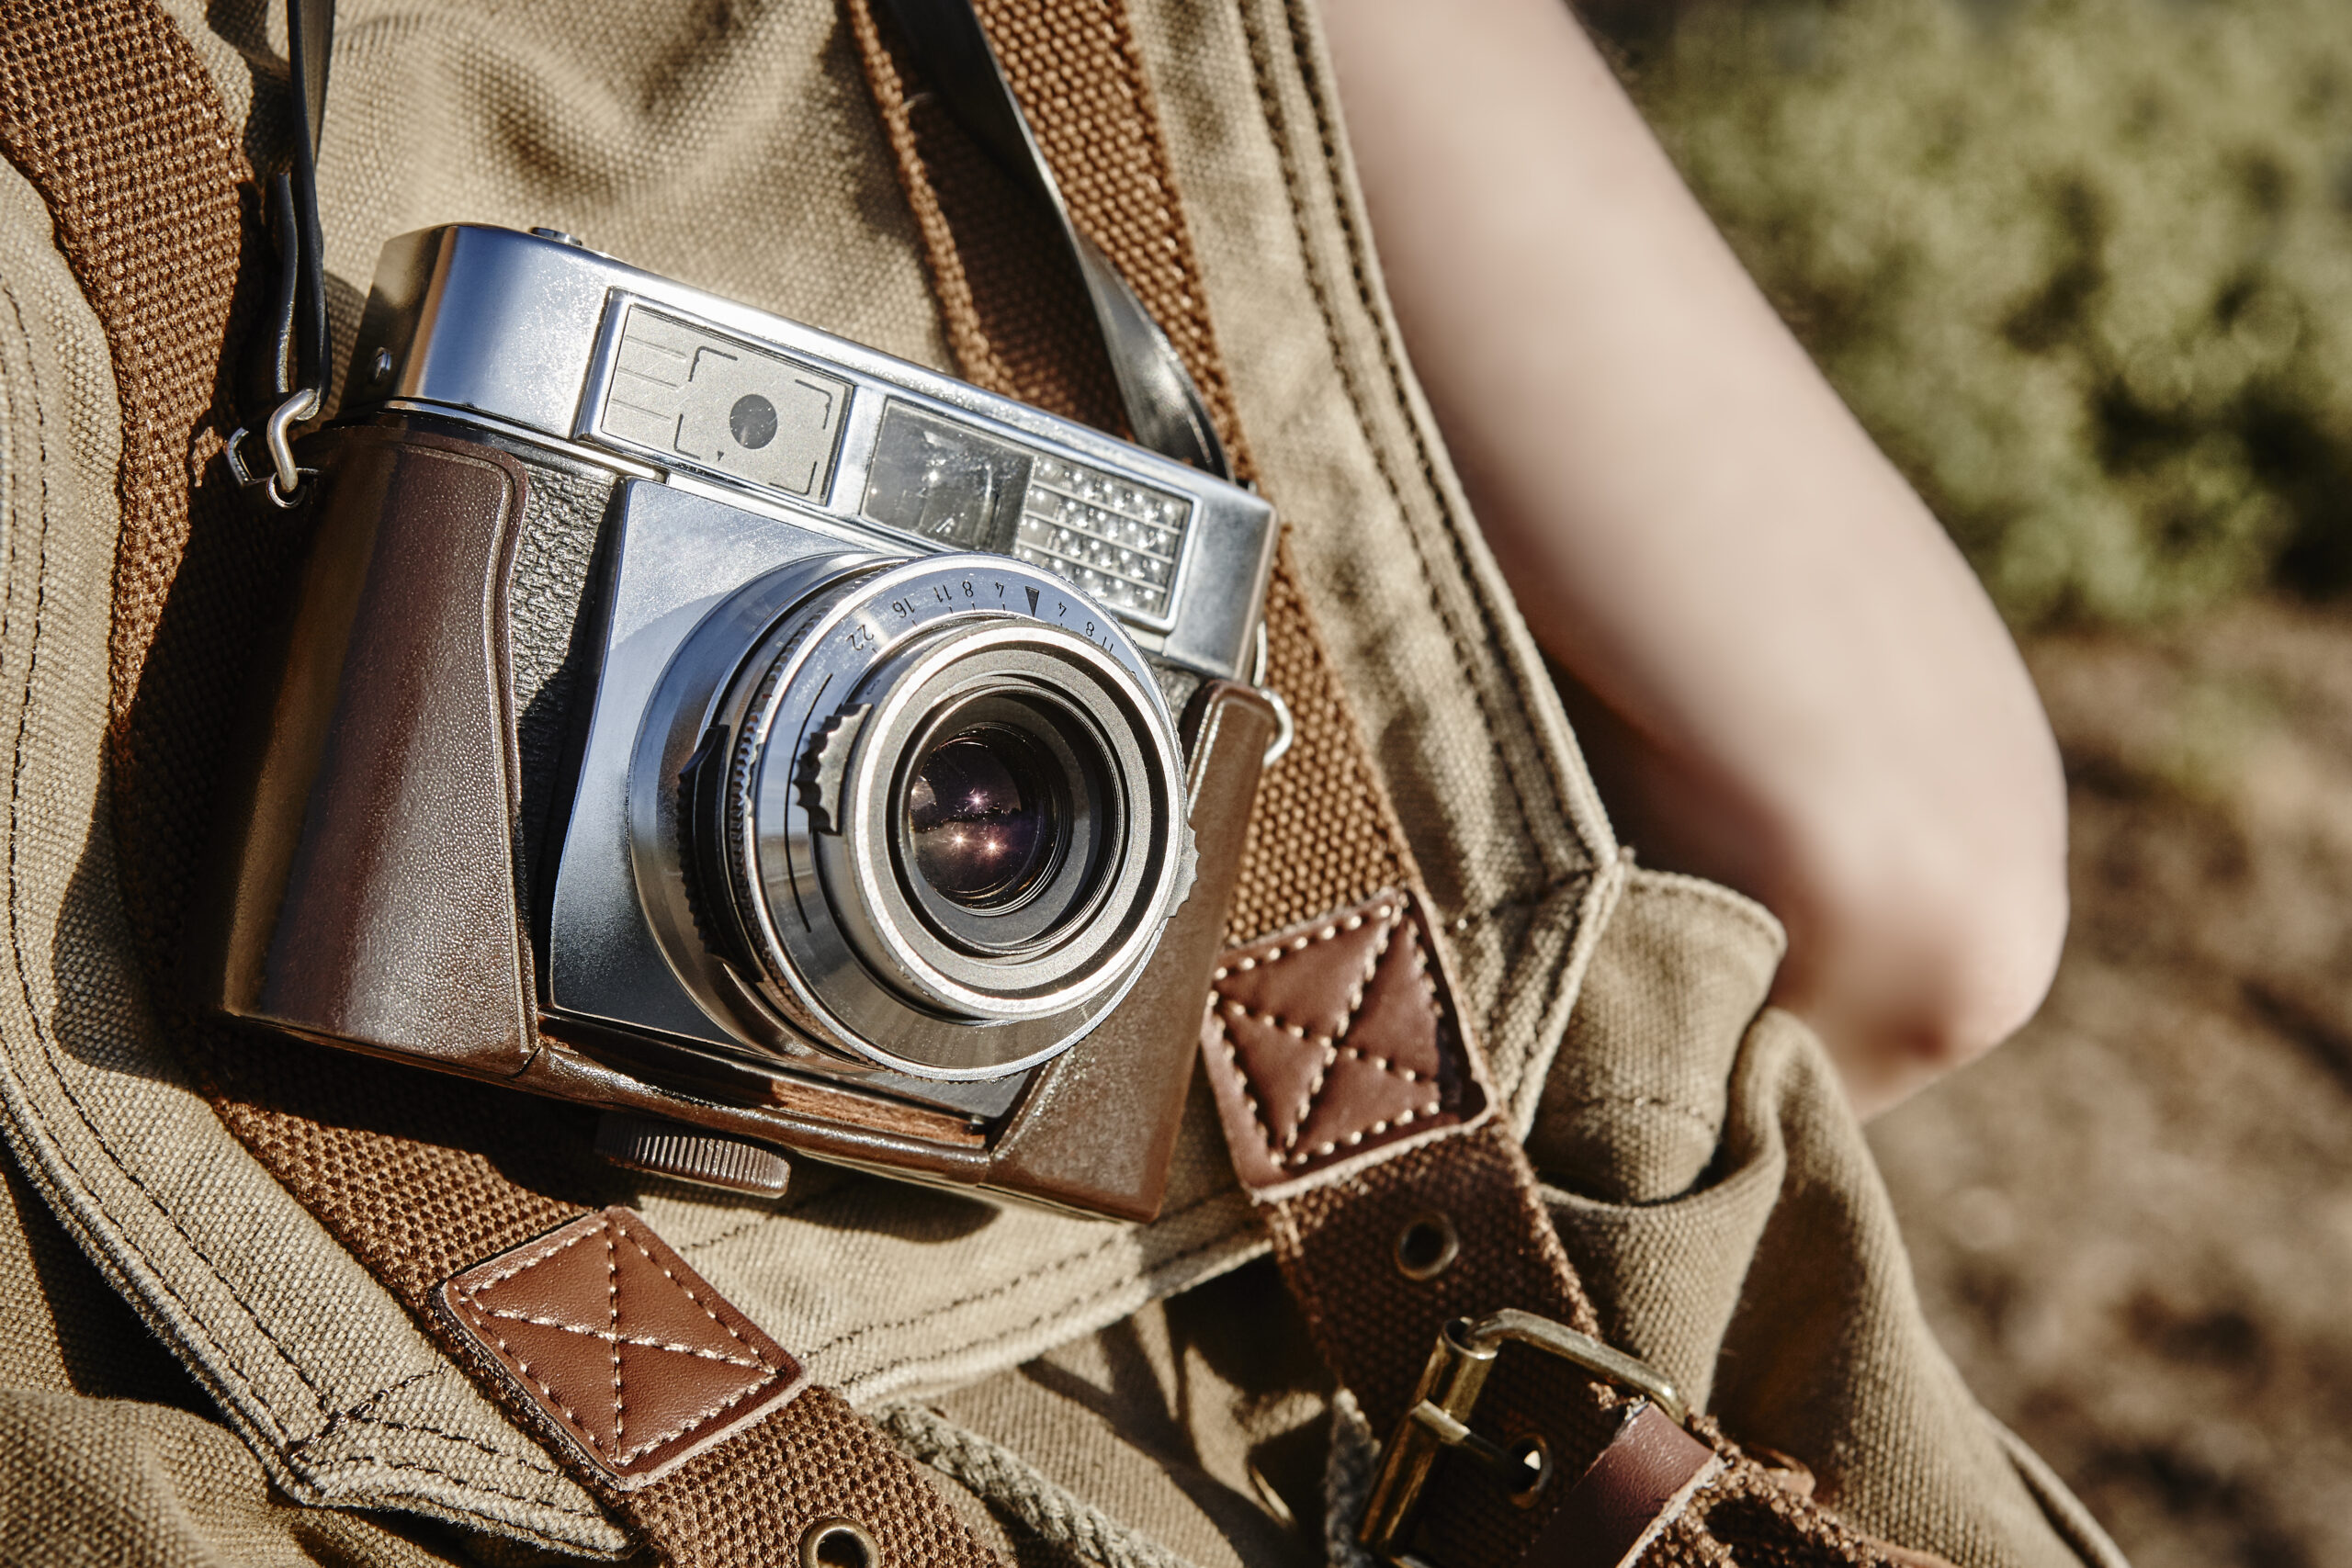
Carrying a vintage camera on the countryside. Film photography
Go out and Photo-Walk
The first step is to grab your camera, get out and shoot. Try using the finder to locate a cool photo spot near you and start your photo-walk there. While you are walking and shooting, keep an eye out for cool spots and angles that have not already been added to the finder. To see what has already been added, simply open the app and hit the “nearby me” button. This will let you see all the locations that have already been added within 20 miles of your current location.
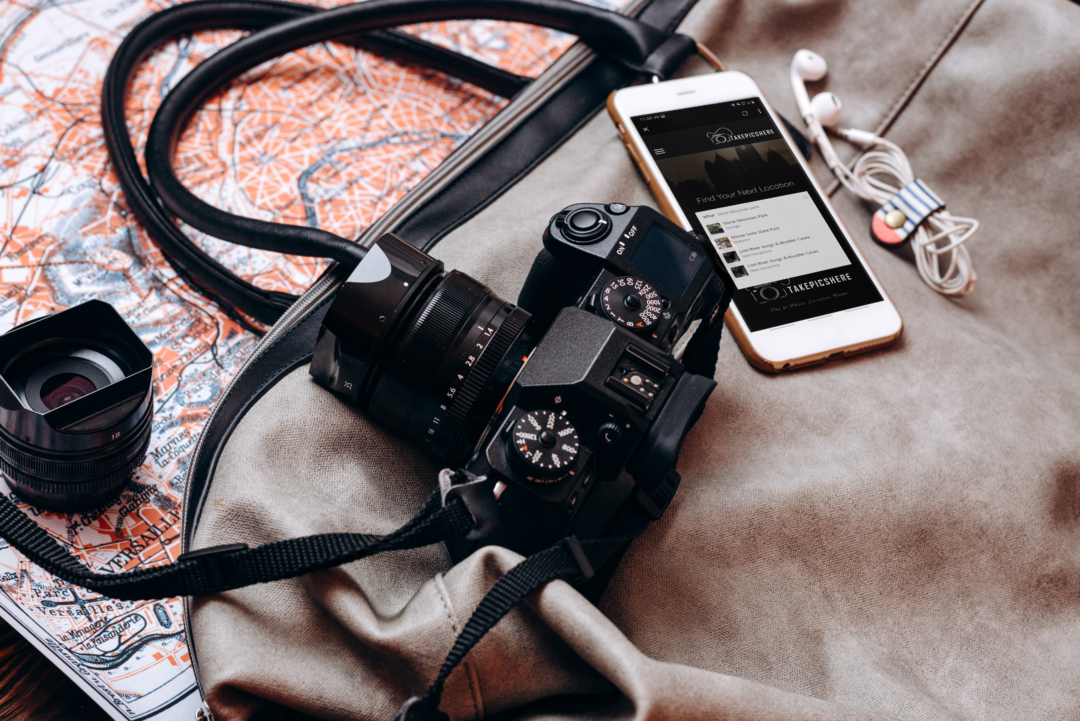
Take Pics and Record Coordinates
Once you find a spot you like, simply start taking pics. Think about what a fellow photographer would want to see when scouting a location. Meaning, capture wide informative shots and special location detail shots, Most importantly, do not forget to record your location. In order for your location to fully integrate into the finder, coordinates and a google address are required for entry.
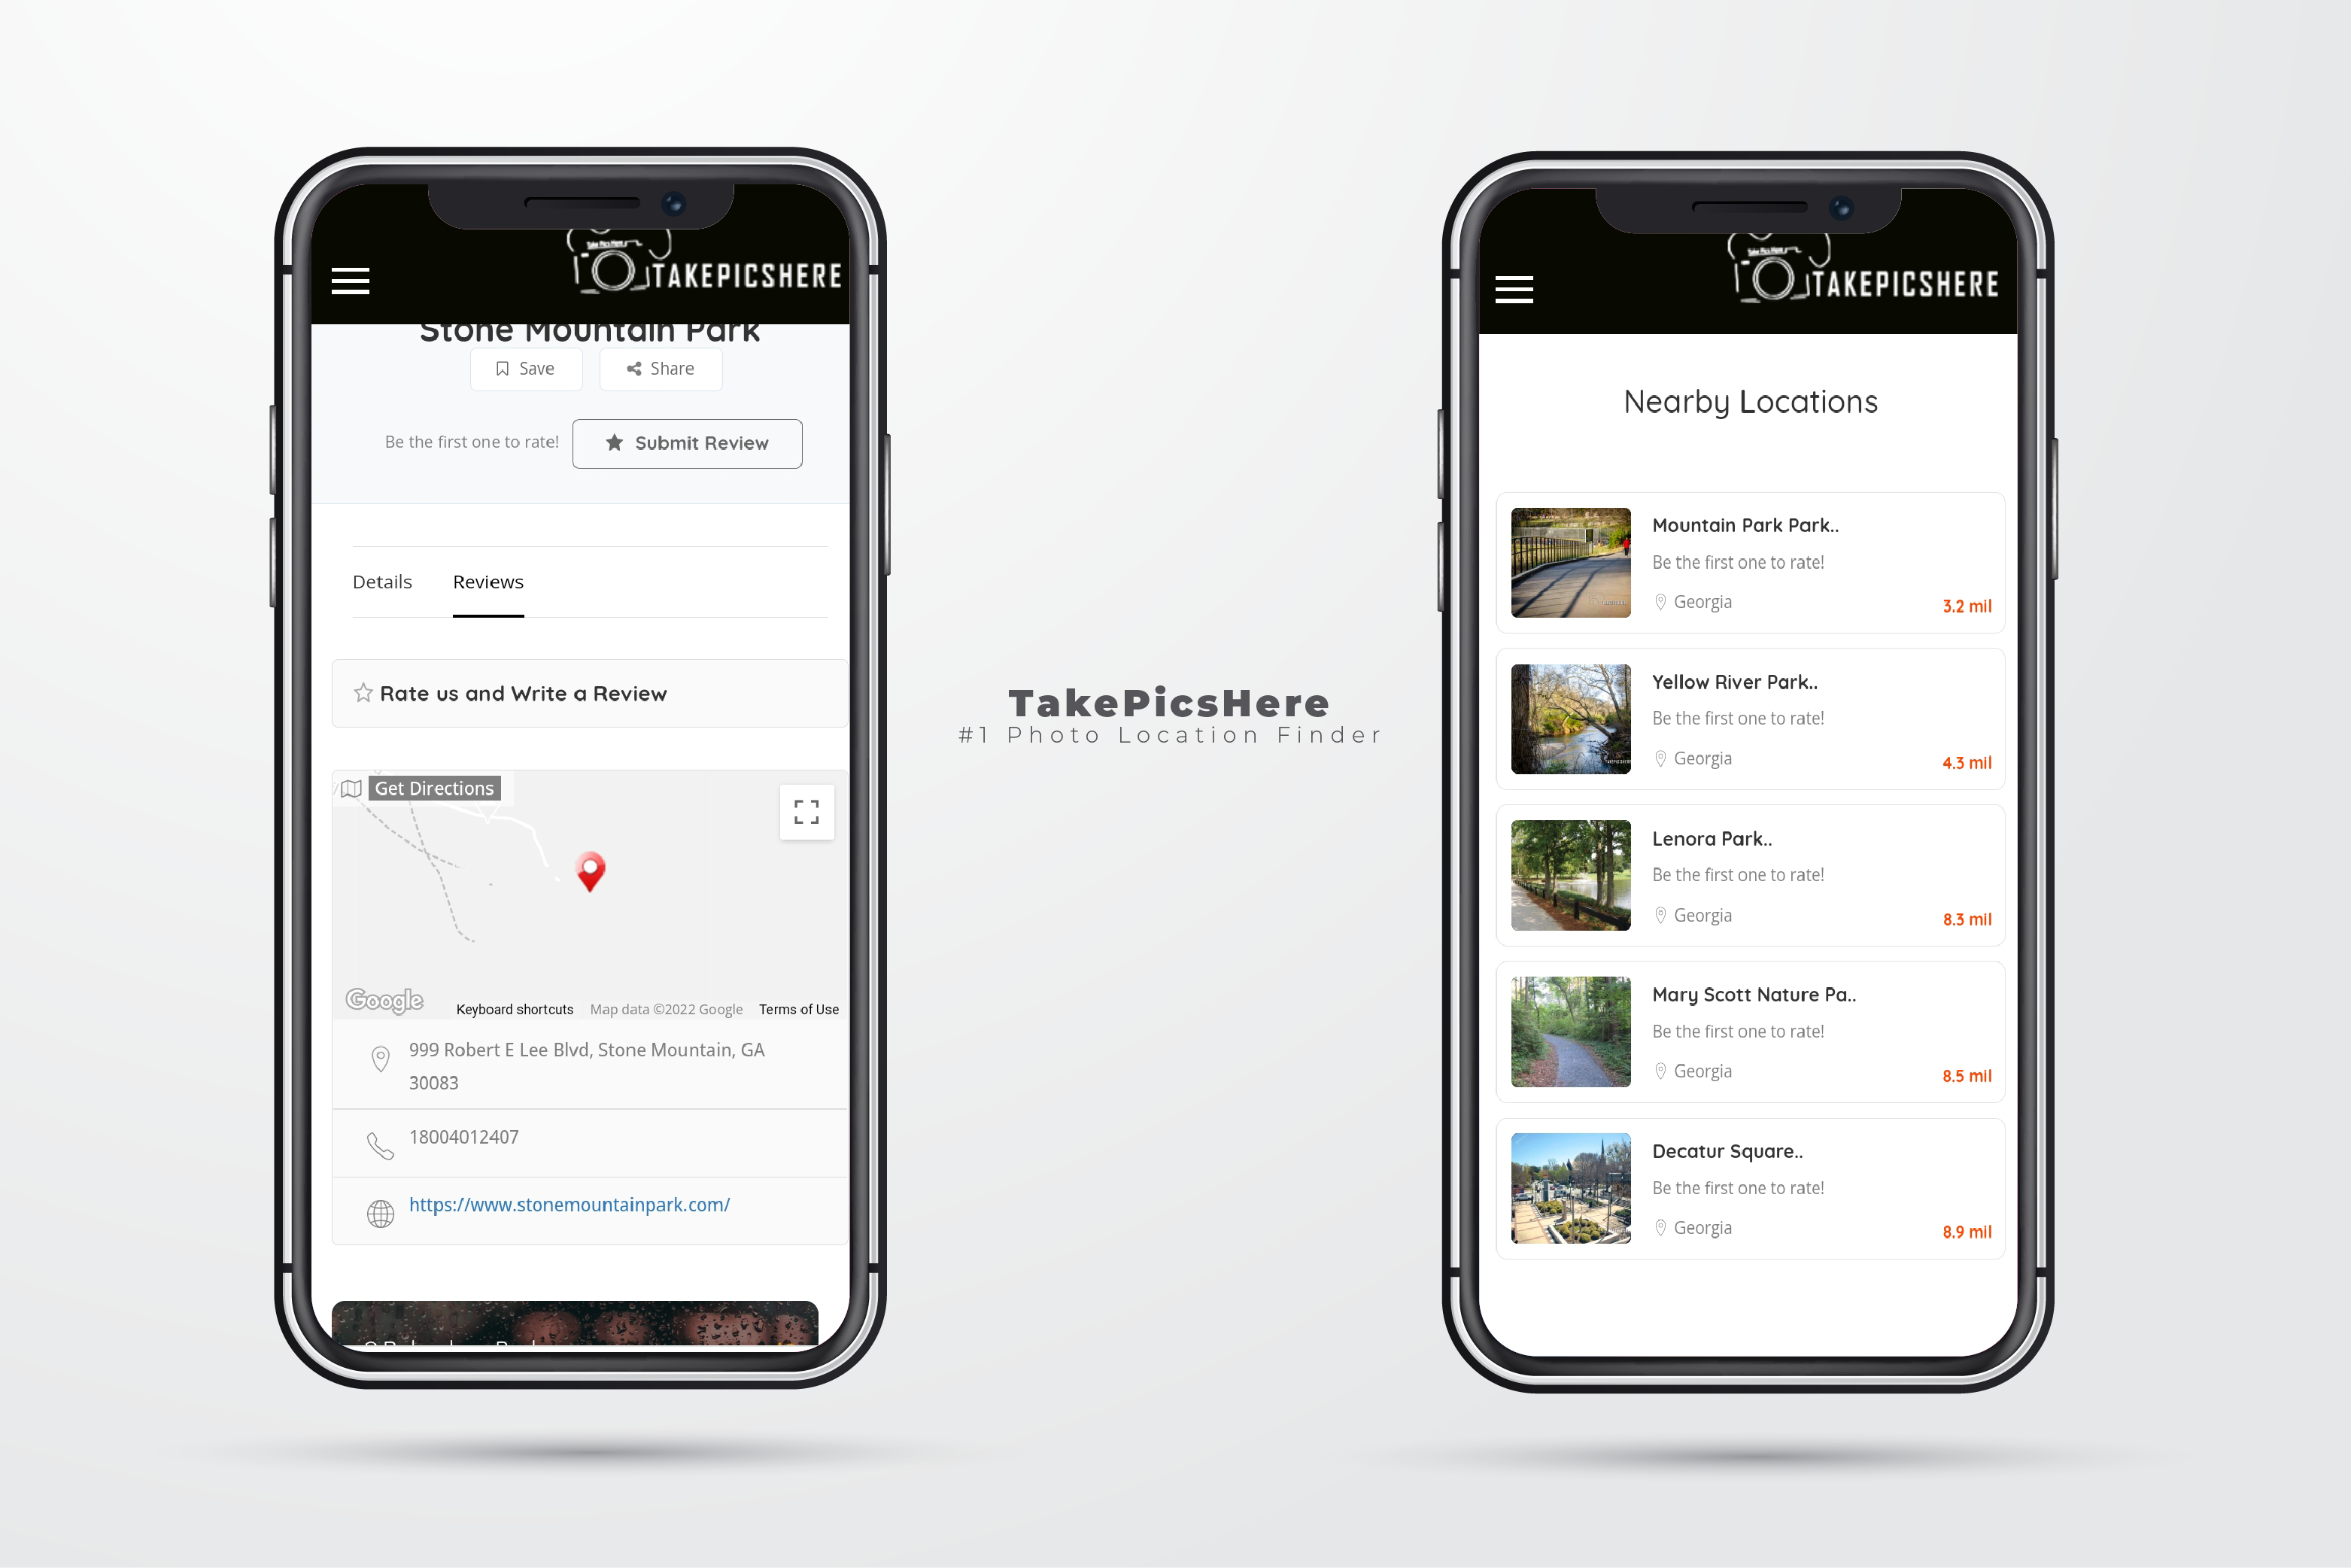
Add Your Location to the Finder
Once you have your photos and coordinates together, it’s time to add a new location to the finder. Pull up TakePicsHere.com and select “Add a Location” from the top menu. Fill out the form with as much information as possible. Once complete, hit submit and wait for approval.
That’s it! It’s super easy to add locations to the TakePicsHere Finder. TakePicsHere contributors are the only ones that can add locations. This helps keep the integrity of the app for all users. Ready to get out and start adding locations? Click here to become a Contributor today!